Tutorial - Gap filling on 3d prints.
Share
In this tutorial, I'd like to focus on one of the "issues" when assembling 3d prints after they're printed, cleaned and cured. Gap filling. When 3d printed parts of the statues being assembled together, they will almost always leave gaps between the parts. Sometimes it isn't an issue, because sometimes even in real life there are gaps visible, but in many cases there are no gaps in parts such as between body parts, smoke, and others. In this particular example, I'd like to share gap-filling technique on the base for the Deadpool statue designed by Wicked 3D Art.
I was able to print this large 6th scale base in one part, which saved me from having to deal with at least dozen of gaps. However, the smoke effect, is added and in the "real life" scenario there would be no gap between walls or ground and smoke. That's where we need to fill the gaps to make the scene realistic.

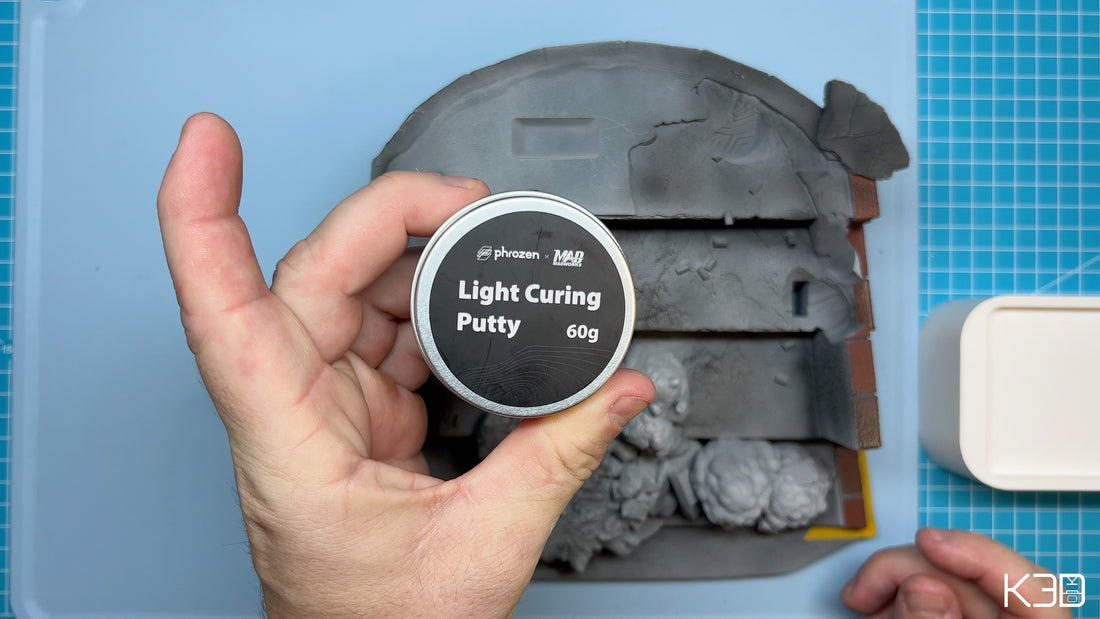
Now in this case, I will be using UV curing putty made in collaboration between Phrozen and Madworks.


This putty comes in aluminum can and it is translucent, which in my opinion, helps UV light to get to all of the putty and not only to the top of it, while some may find plastic putty from Vallejo, or the "Plastic Wood" filler sufficient enough, they need more time to dry in order to be sanded and painted. Also liquid photopolymer resin (one used for printing) will run and seep into the cavity where it won't cure and cause even more problems later in time. Problems like cracked print, uncured resin smell just to name a few. The UV Putty on other hand, once applied and smoothed with alcohol, is exposed to the UV light source for few seconds and is ready to be sanded and painted right away.
Resin UV Putty may be applied using brush, small spatula or in my case syringe with 1mm dull needle which helps me to get the putty where it needs to go. After the putty is applied, I remove the excess with silicone brush and smooth it out with 99% isopropyl alcohol. Next the filled gap is being exposed to the UV light for about 15 seconds. I like to use UV pen I've purchased from Mach5ive or the Phrozen Cure Beam.


And there you have it! Now the gap is ready for further minor sanding and painting. Please see the video below for more detailed explanation.
